• 408 E 300 S Salt Lake City UT
  • Skilled Professionals - As low as: $65/hr with 2 Hr Min - FREE Phone Consultation - SENIOR DISCOUNTS
Call Us Now
801-521-6683
Opening times
Mon - Sat: 8 AM - 5 PM

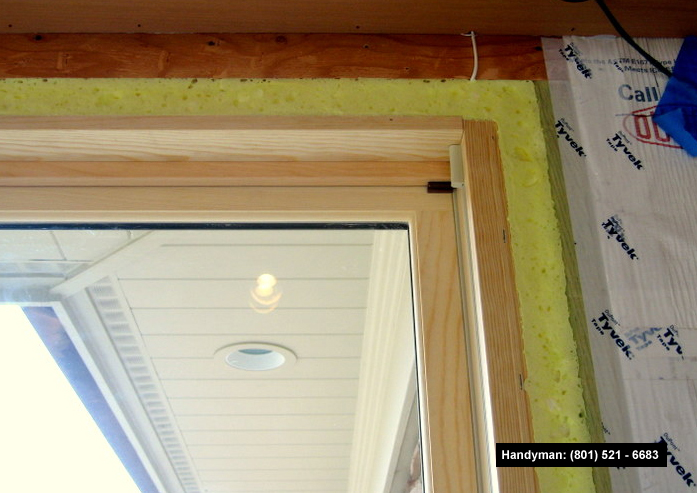
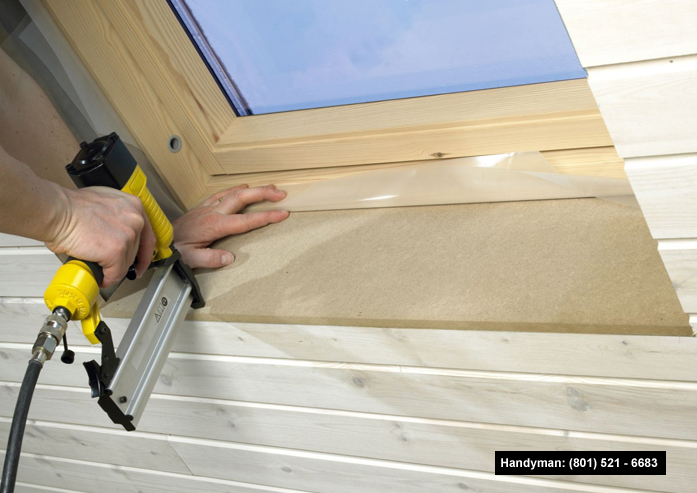
Handyman Services - Doors & Windows

Handyman Services

Introduction
Increase your property’s curb appeal with some creative fencing from Handyman Remodeling Service located in Salt Lake City UT. You don’t have to spend a fortune to increase the value and enjoyment of your property. For example, a privacy fence in composite, wood or vinyl is a great way to make your backyard feel like an extension of your home’s interior, while a security fence can protect against unwanted animals or trespassers. Call us to discuss a few things we can do for you. Handyman Remodeling Service has handyman help for all your fencing needs.

How to Install an Exterior Door
Exterior doors are an important security investment. Changing an exterior door can give your home an immediate upgrade. It's not too difficult a challenge for a beginning handy-person as long as you have the right tools and a little patience. See step 1 to get started!

Part 1 of 3: Preparing the Door

1. Gather your tools. There are a number of tools you're going to need to remove the old door and put in the new door. Make sure that you have what you need before you start trying to do this operation. If you don't have these in your house, a trip to the nearest hardware store is in order.

- Leveler to make sure that everything stays level (you'll have difficulty opening your new door if it's at an angle).
- Caulk to fix the insulation and framing in place.
- Hammer and nails, nail set, screwdriver (depends on the nails holding your old door in place) to remove the old door and put on the new door.
- Tape measure or ruler to measure the old and new doors and frames.
- Insulation to make it so those winter winds don't start whipping around your door.
- Wood shims to hold the door at the right level, if needed.

2. Select the new door. Before you start ripping your old door out of its frame you want to get the new door. The size and type will depend on your needs and the size of the door frame. You don't want to get stuck with the wrong-sized door.

- Wood doors tend to have a nicer look, but they aren't as weather-resistant as fiberglass or steel doors.
- Steel doors also tend to be the least expensive, while wood and fiberglass tend to be around the same price depending on the style of the door.

3. Check that the new door will fit. There's nothing worse than getting all primed to go with your new door only to discover that it is too big or too small. You can avoid this unfortunate situation by taking measurements of the old door and applying those measurements to the new door.

- To check the width you'll need to measure across the top middle and bottom from stud to stud of the old door. The stud is basically the side of the door. The smallest number is the rough estimate for the width.
- For door height you're going to need to measure the middle, and both sides of the door from the top of the door to the floor. The smallest number is again going to be your rough estimate.
- Measure the width of the doorjamb.
- Check the measurements of the old door against the measurements of the new door you're considering. If they match up closely, then you're good to go. If not, you're going to need to consider a new door.

4. Remove the old frame if necessary. The frame tends to made of any shims or nails sticking out of the trimmer studs. This requires removing the door as well as the existing exterior trim and old insulation. Using your hammer and a nail set (or a screwdriver) remove the hinge pins and detach your old door for the hinges.[2]

- For most hinges you should be able to insert a nail set into the hole at the bottom of the hinge pin and strike it upward with a hammer. Keep driving the pin upward (with the hammer) until it comes out.
- Score the caulking between molding and wall in order to break the seal. With a pry bar and hammer, carefully remove molding. Pry away the doorjamb, framing, and the threshold. Now you can scrape away the old caulking.

5. Create rough opening around frame. You need to measure the width between the side jambs, the head jamb to the seal under the old threshold, as well as the thickness of the wall. The rough opening needs to be a minimum of 1 inch (2.54cm) wider and taller than the outside of the door system you'll be installing.

- Be sure that the rough opening and the subsill (the section of the floor under which the sill will rest) is level. If needed, use shims or a beveled board to level it. If the door needs to clear an especially high floor, like a thick carpet, a spacer board may be needed.

6. Make sure everything is level. While you're working you should periodically check with your leveler that everything is staying level. If things aren't level you might end up with a tilted door or frame, which will cause problems later on.

- You particularly want to check that the hinge side is level.

Part 2 of 3: Fitting the Exterior Door

1. Dry-fit the new door. This means that you place the door where it's going to be set to make sure that everything is going to fit properly. If you find any problems at this stage (like the door doesn't fit, things aren't even) then you'll need to deal with those first.

2. Apply caulk. Apply two thick beads of caulk, along the front and rear edges of the subsill, where the sill will be placed. Continue applying the caulk approximately 2 inches (5.08cm) up the sides of the rough framing.

- This weather-proofs the door opening.

3. Insert door into opening. Place the bottom of the door first, tilting the top out toward you, then slide the door into place. It's best to work from the outside of the house when you're inserting the door into the opening.

- You may want to enlist a friend to help you lift and place the door depending on its weight. - Be sure that the door is centered in the opening, and assure that the frame fits snugly into place at the bottom of the opening.

4. Shim the rest of the door-frame. Place shims on the hinge side of the door, behind any points where hinges will be attached to the door frame. The door will be secured to the rough opening in these areas later.

- Arrange the shims and the frame assembly, on the hinge side of the door, until it is plumb in both directions. Ultimately, there should be a continuous gap of about 1/8 inch (0.3175cm) between the edge of the door and the jamb.

5. Secure door temporarily. After you've made all of the necessary adjustments, secure the door temporarily, using 16d finishing nails. Lightly drive the nails through the hinge jamb, near where the hinges will be installed. Don't put the nails all the way in.

Part 3 of 3: Finishing the Exterior Door

1. Test the swing of the door. It should open and close smoothly. Sometimes pre-hung doors will have an adjustable sill, which can be useful it the door isn't quite adjusted perfectly. You want to make sure that the door doesn't scrap the floor inside your house.

- Verify, from the outside, that there is even contact between the door front and the weatherstripping on the section of the frame opposite of the hinge jamb. If necessary, make adjustments by moving the jamb in or out, at the top or the bottom.
- Inspect the edges of the inside face of the door. Be sure that there is a continuous gap of 1/8 inch (0.3175cm) between the door edges and the jamb, all the way around the door.

2. Secure door-jambs. Drive 3 inch (7.62cm) screws through the shims at the hinge sites on the hinge jamb. Secure the remaining jambs all the way around the door, always driving the screws or nails (whatever is suggested by the manufacturer) through the shims.

- Place a solid shim behind the site of the lock strike.
- Verify occasionally that the door assembly is remaining properly adjusted. Install the lock strike, putting the screws through the shim.

3. Install insulation. Finish the job by installing loosely packed, fiberglass insulation around the edges of the door frame. Install interior trim, following the manufacturer's instructions. Apply paintable caulk along all of the joints and intersections of the trim and the brick-mold.

- Fill holes left by the screws with wood filler and allow to dry.
- Wear gloves, because you do not want to get caulk on your hands.

image